Showing posts with label Revlon. Show all posts

Thursday, 1 August 2013

Monthly Favourites! My July Loves + Dislikes

Hi all! I'm currently watching a marathon of Betty White's Off Their Rockers on Lifetime. The idea of the elderly pranking young people is just hilarious. It's the kind of stuff you'd find on YouTube, purely genius. 

Well we're heading into August and is it just me or did July fly by so quickly? Something I look forward to at this time are monthly favourites, which is basically sharing your most loved beauty and even non-beauty items of that month. Today I'm going to share mine!


The lipsticks I've been loving the most are Revlon's Colorburst Lip Butter #090 Sweet Tart, Maybelline's Color Sensational #065 Hooked On Pink and Color Whisper #45 Who Wore It Red-er. Review

My favourite nail polish find was Revlon ColorStay Long Wear Nail Enamel #310 Vintage Rose.

For the entire month I've only been using the Dream Bouncy Blush By Maybelline in #20 Peach Satin. It gives this gorgeous glowy finish which I love and the peachy colour works perfect for any skin tone.

I think Maybelline's The Rocket Volum' Express is a popular one with many. Mostly because it does what it says by giving great volume and even length. I love how this mascara does not clump or weigh down my lashes. I'd definitely re-purchase this.

Probably one of my most favoured makeup items of the month and possibly the year is L'Oreal's True Match Super Blendable Crayon Concealer. Mine is in the shade medium/deep W6-7-8 and it's basically at its end! I cannot find it anywhere to re-purchase so I'm sad about that because it's the only concealer that works perfectly to hide my blemishes. It is really creamy and super blendable (no wonder it's called that) and I love the retractable feature (no sharpening!).


I've never used Suave Professionals hair products before until someone told me about how surprisingly great they work. After trying the Keratin Infusion Smoothing Conditioner, I'm in love. This stuff is amazing for such an affordable price! I have naturally wavy/curly hair and after my first time using this my hair was both visibly and touchably soft and smooth. I did not even get these kind of results with Moroccan Argan Oil Products!

I love cleansing wipes for removing makeup and this Exfoliating Renewal Wet Cleansing Towelette from Ponds is amazing. It easily removes face and eye makeup (although I swear by eye makeup remover solutions for a thorough clean) and contains these tiny beads which takes care of the exfoliation and has the most amazing citrus scent. 

I never leave out toner from my everyday skincare regime and this Blemish Treating Astringent from Bioré is great! It leaves a tingly sensation which I love in astringents and contains Salicylic acid which I'm sure everyone with acne would be familiar with. This formula is also oil-free which is a plus.


Not every product you buy you're going to love and this was the case with Herbal Essences' Hydralicious Reconditioning Shampoo and Conditioner. I usually love Herbal Essences but this one did not do it for me. I bought it because I wanted to try something new and the smell was great, however after using it I really did not like it. My hair did not feel thoroughly clean after shampooing as it was WAY too reconditioning (at least the name does not lie) and I felt it unnecessary to use the conditioner. Even after finishing off with the conditioner and rinsing, my hair felt a little heavy and did not smell like the lovely scent from the bottle (which is my major attraction with Herbal Essences). Overall a huge disappointment for me.

That concludes my favourites for the month of July. Let me know what are yours in the comments and also which products of mine you may have and enjoy. Also, have you tried the Herbal Essences' Shampoo and Conditioner? How did it work for you? Have a good one!

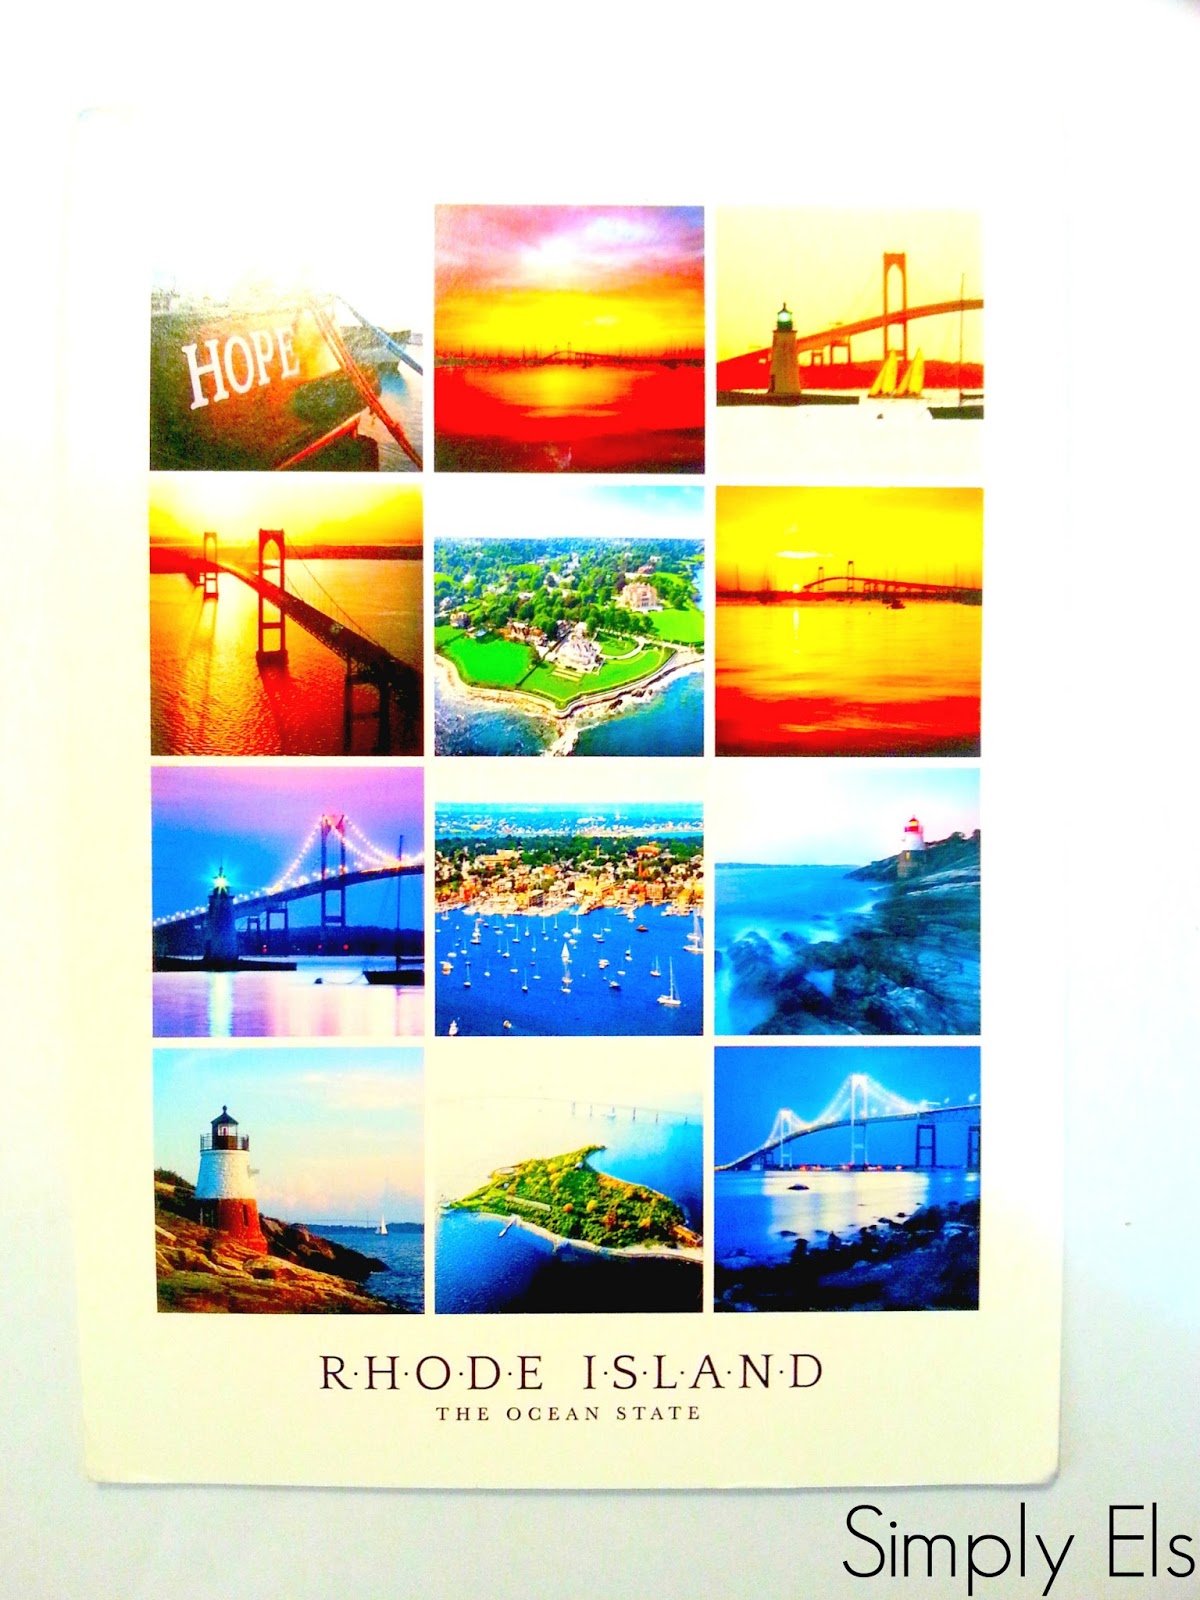
P.S Thanks mom for the beautiful post card!

Thank you for your time

Be sure to 

CommentShareFollow

______________________________________________________

Saturday, 27 July 2013

Behind Blue Eyes: A Tutorial

Hello everyone and welcome to another tutorial! Today I'm playing around with bright blue eyeliner and shadow and I absolutely love how vibrant and fun this look is. This look isn't one I'd sport on a casual day, but for those of you who are daring and love colour, this is for you!

PRODUCTS I USED:
From top: Nicka K Cosmetics  Eye Pencil A06 Blue Glow, Stila Smudge Stick Waterproof Eyeliner, Revlon ColorStay Gel Eyeliner in Black


Maybelline NY Eye Studio (limited edition) Striking Blue #600


LETS GET STARTED:


Before you begin it's important to prep your eyes
  1. Add some concealer to the entire lid, up to the brows and under your eyes. (My eyelids tend to be slightly darker and this helps to brighten them up as well as conceal under eye dark circles.) You may skip this step if it is unnecessary for you.
  2. The area around my eye is fully concealed and brightened.
  3. Apply an eye shadow primer to your lid.
  4. With your finger or brush, apply a light eye shadow (choose a colour that's near to your skintone) to your entire lid.

  1. With your blue eyeliner, begin to line your eyes, creating a flick/wing at the end. You may make the wing as subtle or dramatic as you want.
  2. Then, using a shimmery blue eye shadow, apply that on top of the eyeliner, making sure to keep true to the shape. (This is basically to intensify the look since the liner is not greatly pigmented) 
  3. Once you are satisfied with your line and wing you are finished with the blue
  4. With some black gel liner and an angled brush, make another line on top of the blue keeping both lines equal in width. (If you don't have gel liner you may use a liquid or pencil liner and adjust the technique to achieve the desired look)
  5. With a pencil brush, press some black eye shadow on top of the black eyeliner to deepen and intensify the colour.
  6. That's it for liner and shadow!

You may finish the look by just applying mascara to your top lashes as seen below.


For a little more depth and detail, line your waterline with black eyeliner, brighten your tear duct area and highlight your brow bone with a shimmery white shadow and apply mascara to your bottom lashes and you're all done!


That's it for my tutorial! I really hope you enjoyed this and was able to learn a few things. Be sure to let me know how you liked this look and possibly something you'd do differently or even add to it. I had so much fun making this tutorial and definitely look out for more to come!


Many thanks and heartfelt appreciation to everyone!

Be sure to 

CommentShareFollow

______________________________________________________

Friday, 19 July 2013

It's All About Purple Eyes: Two Looks ft. Purple Prism

Hi lovelies and happy Friday! Today I'm excited to share with you all my first makeup tutorial. Since I will be showing two looks I'm keeping this intro short and sweet and I'll get straight into the tutorials. I made this with lots of love and tried my best to make everything as simple to understand and easy to follow. I really hope you enjoy!

Story:
Out of curiosity, I picked up my Jordana Metal Rocks Metallic Retractable Eyeliner (they simply couldn't make that name any longer) and started experimenting...until a little piece broke off. That's when the idea for this tutorial came about.

I wanted to create a smokey look that was very soft, easy-going and wearable for both day and nighttime, as well as a simple look that was still fun.

For the first look, I used the broken piece of eyeliner as an eyeshadow. Here is how I created it:


PRODUCTS AND TOOLS I USED


From left: Jordana Eyeliner, L'oreal Paris Extra-Intense Liquid Pencil Eyeliner, Maybelline NY The Rocket Volum' Express, Urban Decay Eyeshadow Primer Potion, Revlon Photo Ready Concealer & ColorStay 12hr Eyeshadow #03 Neutral Khakis


My EcoTools eye brushes, foundation brush & Sigma E30 (pencil)


RENEWED PURPLE PRISM: SOFT & SMOKEY


  1. Begin with priming your lids and apply a light eye shadow across your entire lid, extending it to your brow, for your base.
  2. Taking your newly created purple liner eye shadow (or regular eye shadow), apply it to the outer corner of your eye lid with your finger using a gentle "press and smudge" technique.
  3. With a blending brush and some dark brown eye shadow, begin blending it along the outer corner as well as along the crease of your eye.
  4. Continue until everything is well blended and there are no harsh lines
  5. Highlight your brow bone with a light eye shadow 
  6. You're done with eye shadows!


  7. With the same eyeliner used for the shadow, line your lower lash line (if you used a regular purple eyeshadow, use a liner similar to that colour OR use the eyeshadow to line your lower lash line)
  8. Taking the same brown eye shadow with a pencil brush, gently blend with the liner
  9. With an angled eyeliner brush, use the brown eye shadow and press along your upper lash line (this will give a softer look than using a black eyeliner)
  10. With the same pencil brush gentle blend the shadow along your lash line
  11. Using your favorite black eye liner, apply to your water line
  12. Then "tight line" with the same black eyeliner (basically lining the area under your eyelashes)

Bring the entire look together by applying your favorite mascara and you're done!

*For a brighter look, you can apply a shimmery light shadow to the inner corner of your eyes and well as the middle of your lids


THE DOUBLE LINER EFFECT


  1. After you've primed your lids and applied a base colour, with a soft black eyeliner, apply along your upper lash line
  2. Using a pencil brush, smudge the liner to create a softer look as well as create a slight wing by blending the liner outward.
  3. With your purple eyeliner, add that on top the black liner
  4. Using an angled liner brush, smudge the purple eyeliner across the black. (This gives a pretty iridescent effect)
  5. Line your water line using the purple eyeliner.
  6. Then tight line using the same black eyeliner.

Finish off the look with your favorite mascara and you're all done!


So that's it for my tutorial. I hope you enjoyed it and found it easy to understand and follow. I also hope I inspired you all to try new things with your makeup! If you recreate this look, be sure to let me know how it turned out. Also in the comments, let me know what you would do differently for these looks as I'd love to learn from you. Have a fantastic weekend! 


Thank you so much for spending time at my blog!

Be sure to 

CommentShareFollow

______________________________________________________

Wednesday, 17 July 2013

Revlon Lash Potion: A Quick Review

Welcome to another day at my blog! Today I'm going to keep things short and simple with a review of Revlon's latest Lash Potion by Grow Luscious. Mascara is my all time favourite makeup item and I love trying new ones. I previously tried the Grow Luscious Plumping Mascara and the Fabulash Mascara, both by Revlon, and loved them. When I saw this new mascara, I had to try it! This mascara boasts of both volumizing and lengthening capabilities. Lets see how true this is!

I purchased mine at Superpharm, however you can find it at any drugstore that sells Revlon Products. 


Revlon Lash Potion in blackest black (non-waterproof formula)


  1. Naked eyelashes 
  2. One coat of the mascara. As clearly seen, this mascara instantly lengthens my eyelashes as well as adds volume. My eyelashes are also fairly separated and there is no clumping. Also, my lashes are well curled upward
  3. Second coat of mascara. A little more length and volume is added. Lashes are very well separated and still no clumping present. The lashes also still hold its curl.
My thoughts:

I altogether love this mascara as it did not disappoint. It truly volumizes and lengthens as it says. I particularly love how well it keeps my lashes curled and separated. I experienced no clumping throughout the entire application process. It is also super light as it does not weigh down my lashes. It also seems fairly sensitive as I did not experience any redness or watery eyes during and after application. Also, the wand is especially large, being both long and wide with thick bristles. This didn't seem to be a problem for me and I think it is what helped separate my lashes so well. It even did well to apply to my lower lashes. I don't have anything negative really to say about this mascara.


I hope you enjoyed this review. Have you tried this mascara or would you like to? Definitely let me know your thoughts on the results!

Thank you so much for your time! 

Be sure to 

CommentShareFollow

xo Els
______________________________________________________


Tuesday, 9 July 2013

How To: Rescue Your Broken Makeup!

Hi girls! and guys...I don't judge. If I had a list of "Top things I'd hate to have broken" (what kind of weird list is that), naturally my heart would be #1 and next would be my makeup! Actually, next would be my phone, and then my laptop. Alright, my makeup would surely be somewhere up there. And lets face it, while rushing to get ready, being careful isn't always a priority. I must admit, I honestly don't know how and when I became such a girly girl, but whenever any of my makeup products fall, a little piece of my heart does too!

So after some digging, I found a very handy and common way to fix broken makeup. I tried it out on a bronzing powder and it worked great. In fact, I loved the outcome better than the original product, so much that I went a little crazy and actually purposely broke another bronzer of mine to repair it! Sorry bronzer...

Lets repair some makeup!


Here is what you'll need:

  1. Rubbing alcohol (or similar, once containing a very high alcohol content)
  2. A spoon as well as something to crush your makeup ( I opted for a nail tool)

*Water is a no-no
*Make sure to cleanse your tools with the rubbing alcohol before using them


My lovely work of art


1. Remove all the product from the pan and empty into the compact. If your compact isn't as deep as mine, a small bowl may be better for the next few steps.


 2. With your tool of choice, crush the product into very fine particles.


3. Pour some of the rubbing alcohol onto your spoon and add to your product. Repeat this step until there is enough liquid to create a paste.


4. With the spoon, begin to mix the product together with the rubbing alcohol until it forms a paste.


* If you chose to use a bowl for the previous steps, now you can empty the product back into the compact.


5. Again, using the spoon, smooth the product as neatly as possible. It's really hard to get it perfect, so if you're OCD like me, really try to chill for this step.


6. Now set your makeup aside to dry and you're done! 

*With a cotton round and some rubbing alcohol you can clean around the compact

From left: NYC Sun 'n' Bronze Bronzing Powder #707 Fire Island Tan & Revlon ColorStay Mineral  Bronzer  #040 Golden Bronze


Enjoy using your renewed makeup!


Finished product

Colour payoff (these bronzers are much lighter than they appear in the compact and I mostly use them for highlighting)


I hope you found this easy to follow and possibly helped you refrain from re-purchasing makeup. I actually find repairing broken makeup fun and easy. As a plus, it does not take very long to dry, so that's great if you're impatient like me!


Thank you so much for your time!

Be sure to

CommentShareFollow

______________________________________________________


Saturday, 6 July 2013

How I Do My Eyebrows! + Revlon Brow Fantasy Review

Hi beautiful people! I hope everyone had a good week and is taking some time to relax. There are days when you just want your face to have a break from all the makeup, and for those with acne like me (haven't I mentioned that enough?) it can be scary. Lately however, I've been embracing my natural skin and just going out the door with moisturizer and SPF only. For no-makeup days, I often take the opportunity to play up and define my brows since it helps to give you a more polished and youthful look. It's not cheating! Well, technically its still makeup...but you know what I mean. So today I'll be sharing how I groom and fill in my brows.

Before I begin, I want to thank my mother for quarreling with me for whining when a lady messed up my eyebrows while waxing once, and making me realize it's not the end of the world and there are WAY more important things in life. Obviously I knew that, but I unfortunately resorted to overreacting and being a girl and forgetting that hair grows back...sigh. This was the day I learnt how I could rescue my brows and started filing them in.

Well, I've embarrassed myself enough. Now onto the tutorial and review!

P.s. Every so often I get my eyebrows waxed and this tutorial shows how I maintain my brows in between waxing as well as how I fill them in. This is how I personally do my eyebrows and I am in no way saying this is the right way to do it. Everyone has there own technique and style. Be sure to let me know in the comments what your technique is!


These are the tools and products I use to achieve my eyebrow look


Mirror, Scissors, Tweezers, Concealer Brush, Revlon Brow Fantasy, Lash & Brow Groomer (not shown: L'oreal True Match Crayon Concealer )


Simple Toner, Cotton round


PART 1 (refer to illustration above):

  1. This is how my brows look four days after being waxed. My natural eyebrows are thick and the hairs begin to grow back very quickly. 
  2. First, I wipe the area around my eyebrows with a toner/astringent to clean and remove any oil (this makes it easier to pluck the hairs)
  3. I grab my tweezers and begin to pluck away, following the natural shape of my brow, pulling out stray hairs. Note: Every so often I take a step back from the mirror to ensure I'm not over plucking. If that happens, it's best to stop and not try to continue tweezing to rescue your brows. The hair will grow back. 
  4. I then comb the brow hairs upward
  5. Using an appropriate pair of scissors, I trim the excess hair
  6. This is how my brows look after the grooming is done


PART 2:

  1. First I take a look at my brows and see where needs filling in
  2. Using a dark brown brow pencil, I fill in my eyebrows with gentle strokes
  3. Using a brow gel, I comb my brow hairs in place
  4. I let the gel dry and ensure I am happy with the look
  5. To finish off, I neaten up and define my eyebrows with some concealer and a concealer brush
  6. I'm all done!

REVLON BROW FANTASY REVIEW

I recently purchased this eyebrow duo and I love it. I got mine in the shade dark brown which was the darkest shade available. The pencil has just the right amount of softness and glides along my brows effortlessly. I love the fact that it does not result in very harsh lines, but blends into my brows really well. The gel combs my brows wonderfully and keeps them in place all day. Even when I aimlessly run my finger along them! The only issue I have with this duo is the colour of the gel. I wish it was slightly darker since when it dries, leaves a distinct shade of brown, lighter than my natural hair colour. Nevertheless, a great product!


Well, that concludes my tutorial and review. I hope you enjoyed it and possibly learned a few things from it. Don't forget to share your tips and tricks for doing your brows!


Many thanks to everyone who visits my blog

Follow me on bloglovin or subscribe by email for updates

Don't forget to comment and share!

xo Els

Sunday, 23 June 2013

My First Blog Post! + Haul


It's the beginning of my "blogging life", well, how else do I phrase that? It's 10:05 pm and I'm tired but way too excited to put this off till a next day...or night. As every girl my age, or young lady (bleh), I'm sucked in the world of beauty and fashion, and honestly, pretending to be my personal makeup artist and creating a voice over in my head explaining everything I'm putting on my face (and neck...NEVER forget the neck) is simply not enough. I am in no way a professional makeup artist, but with YouTube and the hundreds of beauty gurus, try telling a girl that! So please, enjoy my, what I like to call, "beautybyanoobwhichcantotallypassasfabulous". Okay, I just made that up. Heh.


I recently had my occasional visit to SuperPharm, what I refer to as a trini Walgreens or CVS, and naturally returned home with a bag of totally unnecessary yet completely fulfilling items. I know this is neither new nor unusual for a girl *ahem*, young lady like me. Actually, for anyone with a bosom and...you know. You cannot simply waltz, trot, skip, pop-in to SuperPharm and buy ONLY what you went for, or nothing at all.  That being said, you know what time it is... Haul time, HAUL time, HAULLL TIMEEEE *in weird guys' voice from Blue's Clues*. No, not Steve.


An overview of everything I picked up


Biore deep cleasing pore strips, finally!


Maybelline lipsticks that I bought

From left:
  • Maybelline NY Colour Whisper #85 Berry Ready
  • Maybelline NY Colour Whisper #45 Who Wore It Red-er
  • Maybelline NY Super Stay 14 hr Lipstick #030 Never Ending Nude
  • Maybelline NY Super Stay 14 hr Lipstick #020 Eternal Rose

 Revlon products I purchased...(featuring weirdly positioned fingers)


From left:
  • Revlon Eyelash Culer
  • Revlon Lash Potion by Grow Luscious - Volume & Length Mascara
  • Revlon Brow Fantasy in Dark Brown
  • Revlon Photo Ready Concealer in Medium Deep


Thank you for spending time reading my blog

I look forward to your comments

Let me know what you'd like me to talk about next!


 <a href="http://www.bloglovin.com/blog/8718697/?claim=7md3jym2egp">Follow my blog with Bloglovin</a>